[This page under revision]

Wide-coverage Internet Repeater Enhancement System (WIRES) provides our UHF repeater with Voice Over IP (VoIP) connections. WIRES-X, is the latest generation putting you in control. Use of Wires-X on our repeater is encouraged. Press all the buttons, experiment, and enjoy. If you’re not in the RF footprint of our repeater, you can still keep track of your Leavenworth-area “Peeps” using Wires-X on a laptop or via a hotspot.
Our Wires-X Configuration
Wires-X Over-the-Air
– Accessing Wires-X
– Repeater Etiquette when using Wires-X
Wires-X via the Internet
– Connecting via Wires-X using a Personal Digital Node
– Connecting via Wires-X using a Remote Access Point
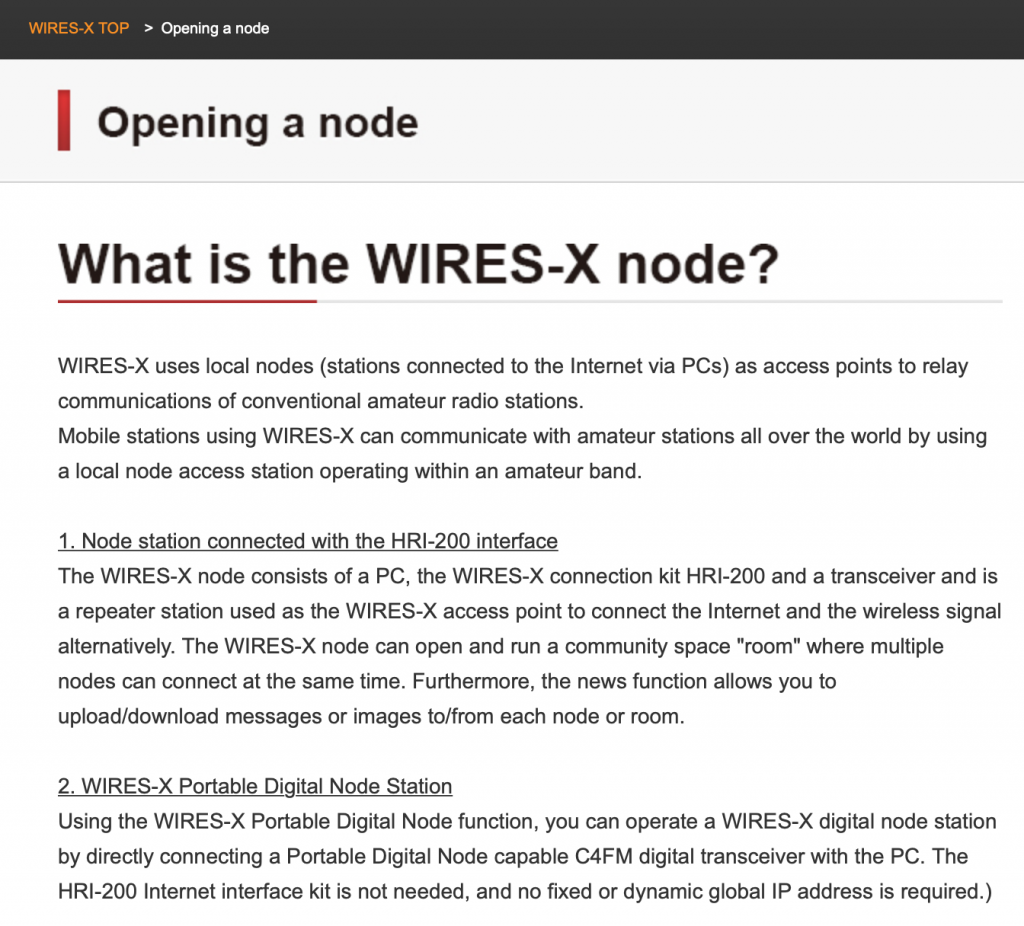
Wires-X: generic
– Registering your Radio for Wires-X
– Finding a Room or Node
– Connecting to a Room or Node
– Disconnecting from a Room or Node
Locally Produced Helpful Fusion and Wires-X Files courtesy of the Kansas City Room
Setting up APRS in your FTM-400
Running down the road? Let others keep track of you while you’re mobile by activating your built-in Automatic Packet Reporting System (APRS).
There are a ton of settings, but, once all the configuration is done, the only one you need to remember is how to turn the APRS Modem on and off.
A detail APRS Instruction Manual is available on Yaesu.com.
Key variable: Set the B-Band for 144.390 MHz simplex. That’s pretty much the national APRS frequency.
SETUP -> APRS:
– 5 APRS Modem: On
– 16 DIGI Path Select: Wide1-1, Wide 2-1
– 23 Callsign (APRS): -7 HT, -8 land mobile, -9 mobile applications
– 26 My position Set: GPS
Unless changes have been made to your radio, the default settings for items not mentioned above should be adequate for operation. There are customizing options you may want to consider for your convenience and comfort:
– 3 APRS Filter: Customize the APRS messages you want to appear on screen
– 6 APRS Mute: Turns off the braaaaaap sound so APRS operates quietly
– 28 My symbol: Sets how you will appear on teh APRS.fi map. /> car, /R recreational vehicle, YY Yaesu radio
– 29 Position Comment: Additional information about your status when your position is sent
– 30 Smartbeaconing: Set this to use the frequency efficiently but not missing any turns.
Locating your Radio ID:
FT-2DR: DISP -> GM -> RADIO ID CHECK
FT-3DR: DISP -> GM -> 2 RADIO ID CHECK
FTM-100: Disp -> GM -> 3 Radio ID
FTM-300: DISP -> GM -> 3 RADIO ID CHECK
FTM-400: SETUP -> GM -> 3. Radio ID
Turning Personal Data Node (PDN) on and off:
FT2DR and FT3DR: Press and hold the [X] key, [BAND] key and the POWER switch to turn the transceiver on. PDN is displayed on the LCD screen.
FTM-100 and FTM-400: Press and hold the [DX] key and the POWER switch to turn on the transceiver on. The radio will only load to the first page on the LCD screen.
To turn off any mode: Switch radio off and repeat above steps.
Wires-X Resources